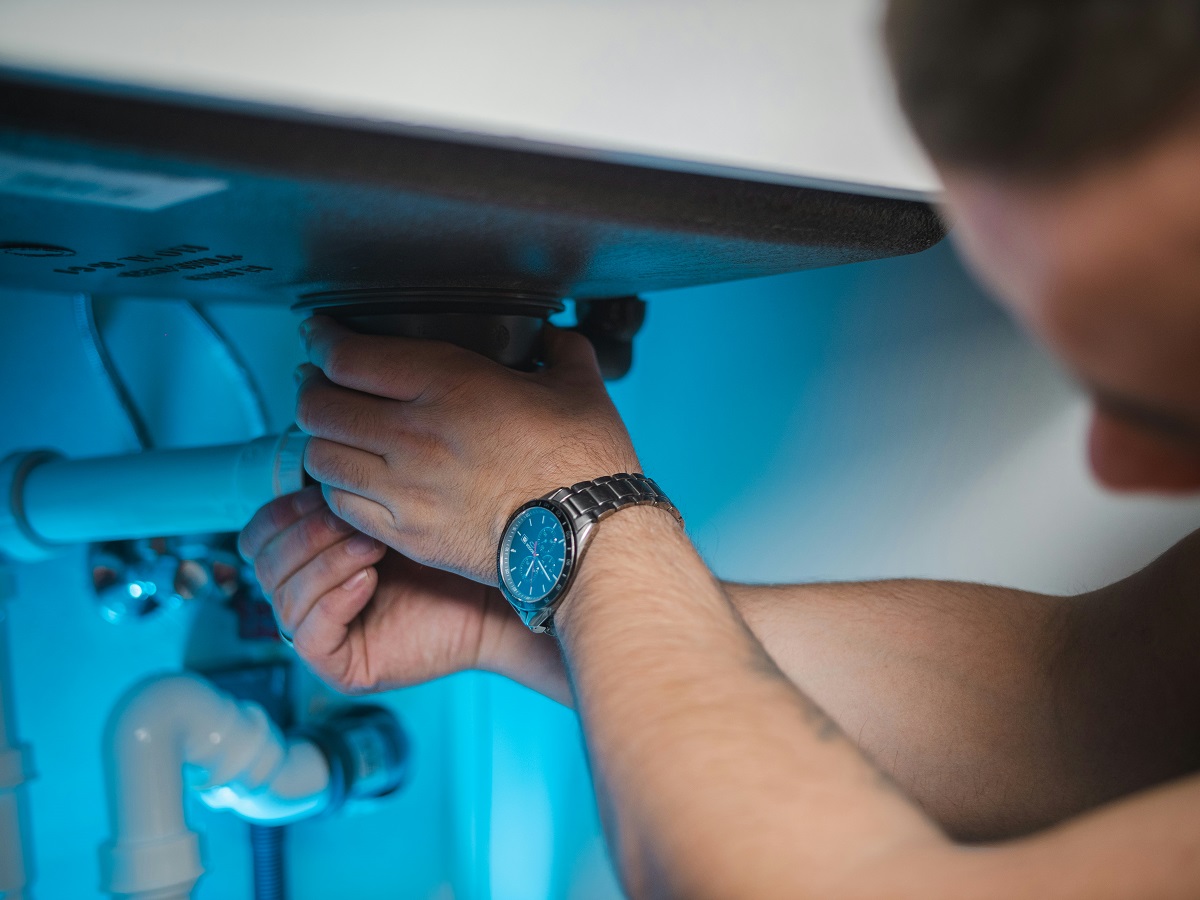
Highlights:
-
Act promptly on small leaks: Minor drips behind cabinets or under sinks can quietly ruin subfloors, warp cabinetry, and cause structural damage and mold growth if ignored.
-
Identify the exact leak source first: Run targeted tests on the faucet assembly, drain/P-trap connections, and supply lines using dry paper towels to pinpoint whether the issue is from worn washers, loose joints, or failing seals.
-
Always shut off the water before repairs: Turn off the local supply valves under the sink (or main water shut-off) and open the faucet to relieve pressure before taking any pipes or fixtures apart.
-
Use the right tools and replacement parts: Simple items like an adjustable wrench, channel locks, plumber’s tape, fresh rubber washers, and plumber’s putty are all you need to resolve most standard sink repairs.
-
Test under static pressure before finishing: Flush the system and leave a full basin of water sitting for ten minutes to verify that no slow, hidden seeps remain around new joints or flanges.
-
Maintain preventive habits: Regularly inspect cabinet interiors, avoid stacking heavy items against pipes, check house water pressure, and avoid harsh chemical drain cleaners that deteriorate PVC and metal joints.
-
Know when to call a plumber: Complex issues like rusted galvanized metal, broken valve stems inside walls, or persistent leaks after replacing internal seals require professional intervention.
A slow drip under your kitchen or bathroom sink might not seem like a major emergency when you first notice it. You slide a plastic bowl under the pipe, make a mental note to deal with it over the weekend, and carry on with your day. But that quiet, persistent trickle is a ticking clock. Left unchecked, even a minor sink leak can warp your cabinetry, ruin hardwood flooring, destroy drywall, and create a prime breeding ground for toxic mold.
Taking action early is the single best way to avoid a massive plumbing headache down the road. Fixing a leaky sink is a manageable weekend DIY project that requires basic tools, a bit of patience, and a methodical approach. This comprehensive guide breaks down everything you need to know to identify, diagnose, and fix every common sink leak in your home.
Understanding Why Sinks Leak in the First Place
Before grabbing a wrench, it helps to know what causes water to escape in the first place. Plumbing systems rely on tight seals, balanced pressure, and intact materials to keep water flowing where it belongs. When any of these components degrade, water finds the path of least resistance.
Here are the primary culprits behind most household sink leaks:
-
Worn-Out O-Rings and Washers: Inside your faucet assembly, small rubber seals prevent water from seeping out around the handles or spout. Over years of daily friction and mineral buildup from hard water, these rubber components dry out, crack, or flatten, allowing water to pass through.
-
Corroded Drain Pipes and P-Traps: The curved pipe under your sink (the P-trap) holds standing water to block sewer gases from entering your home. Because water constantly sits in these pipes, metal P-traps can rust through over time, while plastic PVC pipes can crack or suffer from degraded rubber washers at the slip-joint connections.
-
Loose or Degraded Supply Lines: Flexible supply lines bring hot and cold water from your wall valves up to the faucet. The rubber gaskets inside these connection nuts deteriorate over time, or the metal threading can loosen due to vibrations and temperature changes.
-
Failing Drain Flange Seals: The metal basket strainer resting at the bottom of your sink bowl is sealed with plumber’s putty or a rubber gasket. Daily washing, temperature fluctuations, and heavy pots knocking against the drain can break this seal, letting water leak directly underneath the sink basin.
-
Excessive Water Pressure: If your home’s water pressure is set too high (above 80 PSI), it puts constant stress on every joint, valve, and hose connection in your plumbing system, accelerating wear and causing unexpected leaks.
Tools and Supplies You Need for the Job
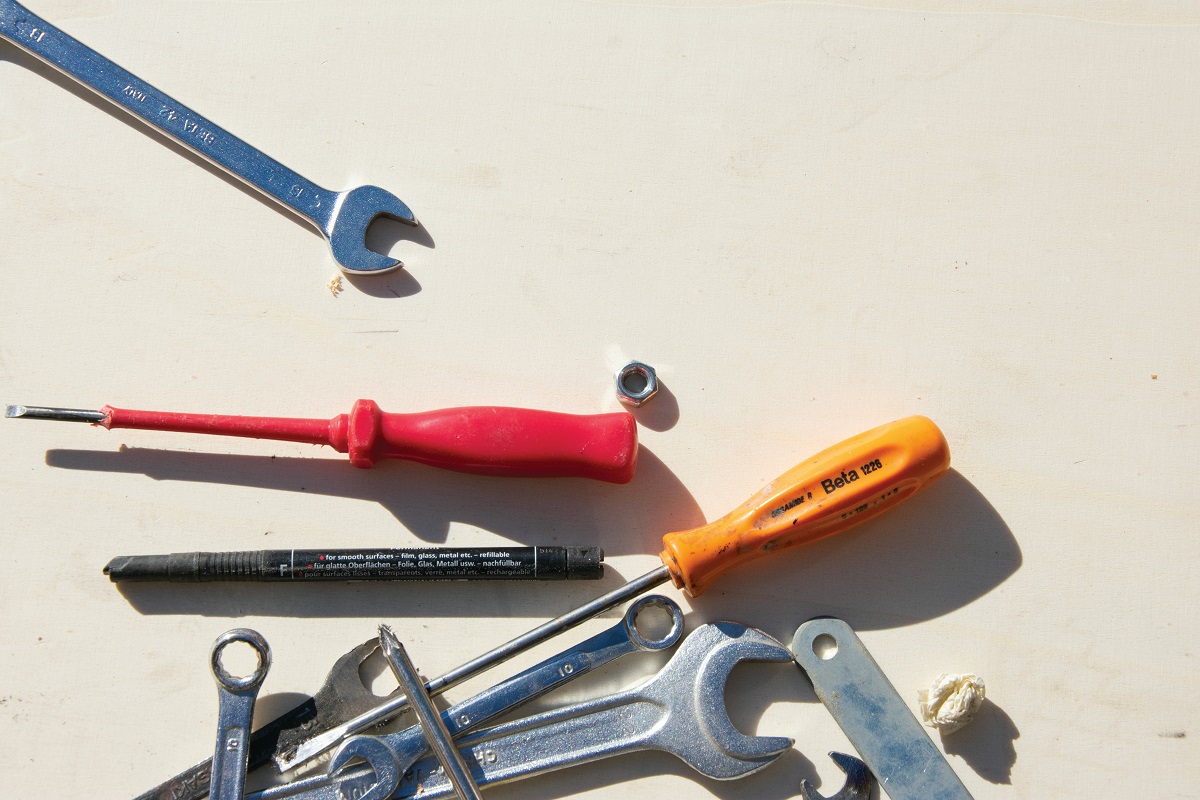
Having the right tools lined up before you start prevents frantic trips to the hardware store halfway through the repair. You do not need expensive specialized gear, but a few plumbing essentials make the process significantly smoother.
Assemble this basic toolkit before turning off any water lines:
-
Adjustable Wrench: Crucial for loosening and tightening metal supply line nuts without stripping the hardware.
-
Tongue-and-Groove Pliers (Channellocks): Perfect for gripping smooth metal or PVC drain pipes and large P-trap slip nuts.
-
Screwdrivers: Keep both a Flathead and a Phillips head screwdriver nearby for removing handle caps, faucet handles, and retaining clips.
-
Plumber’s Tape (Teflon Tape): A thin white thread-sealing tape essential for creating watertight seals on threaded pipe connections.
-
Plumber’s Putty or Silicone Caulk: Required for resealing the drain flange or basket strainer to the sink basin.
-
Flashlight or Headlamp: Illuminate the dark corners under your cabinet so you can see fine hairline cracks and slow seeps.
-
Bucket and Old Towels: Plumbing work always releases trapped water. Keep a shallow bucket and a stack of rags ready to catch spills.
-
Replacement Parts: Depending on your leak location, gather a faucet repair kit, replacement cartridges, rubber washers, or a new P-trap assembly.
Step 1: Locating the Source of the Leak
Finding the exact spot where water escapes can be surprisingly tricky because water travels along pipes before dripping down. A puddle on the floor of your cabinet might originate from a loose faucet handle high above, or a slow weep behind the wall connection.
To pinpoint the source, start by completely emptying the cabinet underneath your sink. Wipe down every pipe, hose, and valve with a dry microfiber cloth so all surfaces are bone dry.
Next, run a simple diagnostic test in three stages:
-
Test the Faucet and Top-Side Fixtures: Run both hot and cold water with the drain open. Watch closely around the base of the faucet spout, handle stems, and spray hose connection. Look for pooled water around the sink deck.
-
Test the Drain and P-Trap: Plug the sink drain, fill the basin halfway with water, and pull the plug. As water rushes down the drain, inspect every joint along the tailpiece, P-trap, and wall outlet pipe using your flashlight.
-
Test the High-Pressure Supply Lines: Leave the water running and use a dry sheet of paper towel to dab around the supply line nuts, shut-off valves, and where the lines connect to the faucet base. A dry paper towel instantly reveals small micro-droplets that are hard to spot with the naked eye.
Addressing these issues promptly plays an enormous role in protecting your home from costly water damage while preserving the structural integrity of your kitchen or bathroom cabinets.
Step 2: Preparing Your Workspace Safety First
Never begin taking pipes or faucets apart without taking proper preparation steps. Working with live water pressure can turn a minor repair into an immediate indoor flood.
First, locate the shut-off valves under the sink. Turn both the hot and cold valve handles clockwise until they are fully closed. Hand-tighten them firmly, but do not force them with heavy tools, as old plastic handles can snap off. If your under-sink valves are stuck, rusted, or missing, shut off your home’s main water line near the water meter.
After closing the valves, open the faucet handles entirely to relieve remaining pressure and allow trapped water in the lines to drain out. Leave the handles in the open position while working.
Finally, lay down a thick towel across the floor of the cabinet and place your shallow bucket directly beneath the P-trap to catch residual water stored inside the trap bend.
Step 3: Fixing a Dripping Faucet
A dripping faucet stem usually indicates that internal wear components need replacement. Faucets fall into four primary categories, each requiring a specific fix.
Compression Faucets
Compression faucets are older double-handle fixtures where turning the knob compresses a rubber washer against a valve seat.
-
Pry off the decorative cap on the top of the handle using a flathead screwdriver to expose the mounting screw.
-
Unbolt the screw and pull the handle straight off the valve stem.
-
Use your adjustable wrench to unscrew the packing nut and lift out the stem assembly.
-
Unscrew the small rubber washer at the bottom of the stem and replace it with an exact match from a washer assortment kit.
-
Inspect the brass valve seat inside the faucet body. If it feels rough or pitted, smooth it with a seat-dressing tool or replace it entirely before reassembling.
Cartridge Faucets
Cartridge faucets can be single or double-handled and rely on a brass or plastic cartridge that slides up and down to regulate flow.
-
Remove the handle cap, loosen the set screw with an Allen wrench, and pull off the handle.
-
Pull off any decorative retaining collar to reveal the metal cartridge retaining clip.
-
Use needle-nose pliers to slide the retaining clip straight out.
-
Pull the old cartridge straight up out of the faucet body. If stuck, use an inexpensive plastic cartridge-puller tool.
-
Slide the replacement cartridge into place, aligning all tabs, reinsert the clip, and reinstall the handle.
Ceramic Disc Faucets
Ceramic disc faucets feature a single lever control and housing containing smooth ceramic plates that rotate against each other to open and close water flow.
-
Disassemble the handle to expose the ceramic disc cylinder underneath.
-
Unscrew the mounting screws securing the cylinder assembly to the faucet base.
-
Lift out the cylinder and clean off mineral buildup using white vinegar and a soft brush.
-
Replace the tiny rubber inlet seals located on the underside of the cylinder assembly, or swap in a new ceramic cylinder if the ceramic plates are cracked.
Ball Faucets
Common in kitchen sinks, ball faucets utilize a single lever resting on a rotating plastic or brass ball inside a dome-shaped housing.
-
Loosen the handle set screw and lift off the handle.
-
Unscrew the top cap and cam collar using channel lock pliers, protecting the chrome finish with a rag.
-
Lift out the plastic cam, washer, and ball mechanism.
-
Use a screwdriver to carefully pry out the small rubber seats and internal springs sitting inside the faucet body underneath the ball.
-
Install new springs and rubber seats from a ball faucet repair kit, replace the ball if scratched, and reassemble.
Step 4: Repairing Leaks Under the Sink
When the water pooling under your sink is coming from the piping rather than the faucet above, the fix usually involves resetting connections, renewing rubber seals, or reapplying sealant.
Tightening or Replacing P-Trap Slip Joints
P-trap leaks frequently occur at the threaded slip nuts connecting the curved pipe sections.
-
Position your bucket beneath the P-trap. Unscrew the two plastic or brass slip nuts holding the curved bend to the drain tailpiece and wall pipe.
-
Allow trapped water and debris to drain into the bucket.
-
Pull the P-trap free and clean out accumulated gunk, hair, and soap scum inside the pipe using an old bottle brush.
-
Slide off the old plastic or rubber bevel washers from the pipe ends.
-
Install fresh slip-joint washers, making sure the tapered edge of the washer faces toward the joint opening.
-
Hand-tighten the slip nuts onto the threads, then give them an additional quarter-turn with tongue-and-groove pliers. Do not overtighten plastic nuts, as they can crack easily.
Resealing the Sink Strainer Flange
If water seeps down between the sink basin and the drain body, your drain strainer flange needs fresh putty.
-
Disconnect the drain tailpiece from the bottom of the strainer basket under the sink.
-
Unscrew the large locknut holding the strainer basket against the underside of the sink bowl using a strainer wrench or large channel pliers.
-
Push the strainer assembly up through the top of the sink and lift it out.
-
Scrape away old, dried plumber’s putty from both the top rim of the sink drain hole and the flange using a plastic putty knife to avoid scratching stainless steel or porcelain.
-
Roll a golf-ball-sized piece of plumber’s putty between your hands into a uniform rope about a quarter-inch thick.
-
Wrap the putty rope in a complete circle around the underside rim of the strainer flange.
-
Press the strainer firmly down into the sink opening.
-
From under the sink, slide on the friction washer and thread the locknut back on, tightening it securely.
-
Wipe away any excess putty that squeezes out around the top rim of the drain in the sink basin.
Replacing Braided Water Supply Lines
Flexible supply hoses can fail at their crimped ends or suffer internal rubber wall degradation over time. Replacing them is quick preventive work.
-
Ensure shut-off valves are fully closed and lines are depressurized.
-
Use an adjustable wrench to loosen the upper compression nut attached to the faucet shank.
-
Loosen the lower compression nut connected to the shut-off valve outlet stem.
-
Take the old hose to the hardware store to ensure you purchase an exact replacement in length and connection diameter (typically 3/8-inch compression by 1/2-inch FIP).
-
Thread the new stainless steel braided supply hose onto the valve stem and faucet shank by hand.
-
Snug each nut down with your wrench, applying a second wrench to back up the valve body so you do not twist the copper pipe coming out of the wall.
Step 5: Testing Your Fix and Checking for Hidden Drips
Never call a plumbing job finished without conducting a thorough stress test. Small errors like a misaligned washer or slightly loose nut can create tiny slow leaks that go unnoticed until damage sets in.
Follow this systematic testing routine:
-
Slowly Open the Shut-Off Valves: Turn the hot and cold water valves counterclockwise to open them gradually. Opening valves too quickly sends a water hammer pressure spike through the lines.
-
Flush the System: Run both handles for two minutes to flush air out of the water lines and clear any loose rust or plumber’s tape debris from the faucet aerator.
-
Perform the Paper Towel Press Test: Take a fresh, dry sheet of white paper towel and press it firmly around every single joint, slip nut, shut-off valve, and hose connection under the sink. Any damp spot on the paper towel immediately identifies an issue that requires a quarter-turn more tightening.
-
Conduct a Static Fill Test: Plug the sink drain, fill the basin to the overflow drain line, and leave it filled for ten minutes. Inspect the space under the cabinet again. Filling the bowl creates weight and static water pressure on the drain assembly that reveals leaks you cannot see with running water alone.
Long-Term Maintenance Tips to Prevent Future Leaks
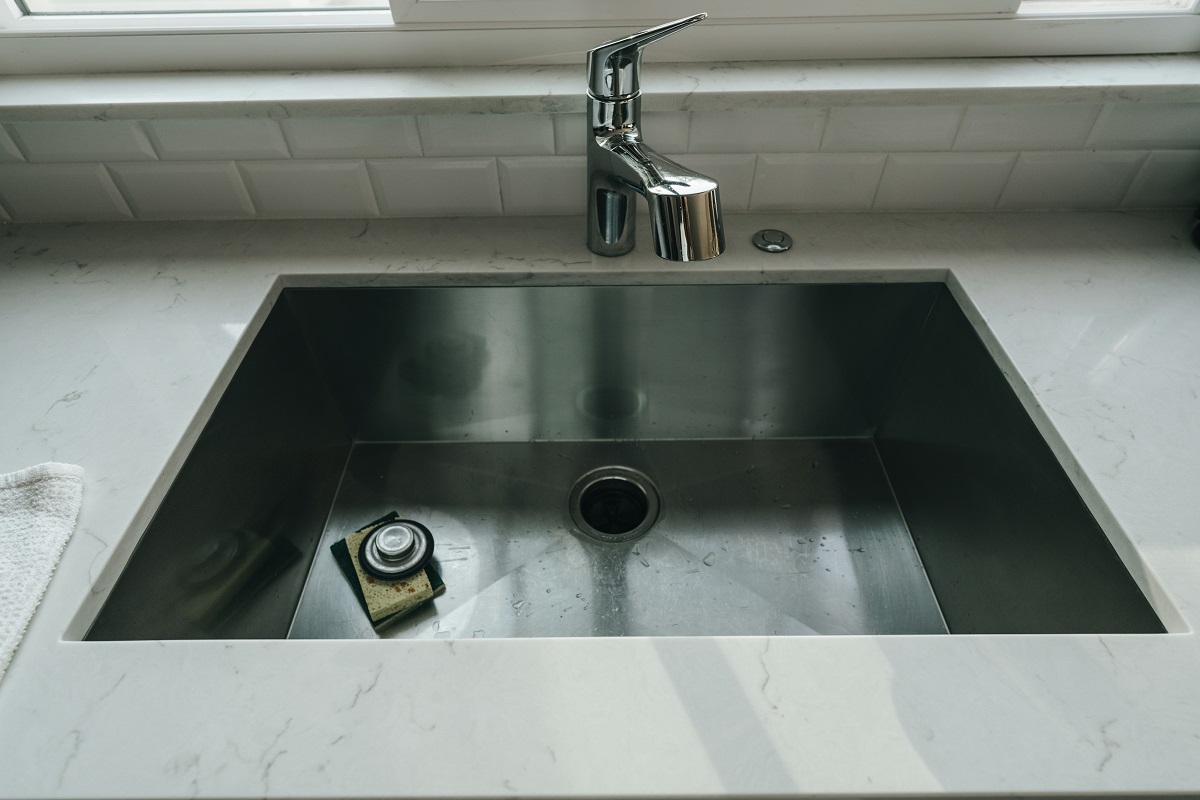
Fixing an active leak feels satisfying, but taking proactive steps keeps your home’s plumbing running smoothly year-round.
-
Conduct Monthly Visual Checks: Make a habit of checking under every sink in your home once a month. Keep a flashlight near your cleaning supplies and look for damp spots, cabinet floor warping, or green/white corrosion on metal valves.
-
Avoid Storing Heavy Items Against Plumbing: Avoid stuffing heavy bottles of detergent, buckets, or bulky appliances tightly against flexible supply lines and drain pipes under the sink. Accidental bumps can loosen connections over time.
-
Monitor Whole-Home Water Pressure: Purchase an inexpensive water pressure gauge that threads onto an outdoor hose bib or laundry sink connection. Ensure your home’s water pressure stays between 40 and 60 PSI. If it exceeds 70 PSI, hire a professional to install or adjust a pressure-reducing valve.
-
Pass on Harsh Chemical Drain Cleaners: Chemical drain openers generate intense heat through chemical reactions to dissolve clogs. This thermal reaction can warp plastic PVC pipes, melt glue joints, and accelerate corrosion in metal traps. Use a mechanical drain snake or manual plunger instead.
-
Replace Rubber Hoses Every Five Years: Flexible supply hoses with internal rubber linings degrade over time. Replace old rubber lines with braided stainless steel hoses every 5 to 7 years as preventive maintenance.
Knowing When to Call a Professional Plumber
While most sink leaks yield easily to basic tools and new washers, some situations demand professional expertise. If you encounter rusted galvanized steel pipes, broken valve stems behind your wall, unyielding corrosion on main drain stacks, or recurring leaks despite replacing internal parts, it is time to call a licensed plumber.
Knowing your limits prevents accidental pipe breakage inside walls, saving you time, frustration, and costly structural repairs down the road.
Wrapping It Up
Tackling a leaky sink might feel intimidating at first, but taking a systematic approach transforms a stressful home maintenance issue into a quick and satisfying win. By identifying the root cause, gathering the proper tools, and replacing worn seals or supply lines promptly, you keep your plumbing system running efficiently. Regular monthly inspections under your cabinets and basic preventive care will go a long way in keeping your home dry, safe, and leak-free for years to come.