Closing day on a fixer-upper brings an unmistakable surge of adrenaline. You turn the key, step across the threshold of your new property, and visualize the immense potential hidden beneath decades of wear. Then reality sets in. The initial euphoria quickly collides with peeling wallpaper, drafty sashes, stained ceilings, humming pipes, and a bewildering list of deferred maintenance items.
Learning where to channel your DIY sweat equity saves tens of thousands of dollars over the lifetime of a home purchase. Simple hand tools, modern sealants, and methodical weekend effort resolve an astonishing array of structural and cosmetic challenges. Knowing your mechanical and structural limits is just as essential. Distinguishing between a weekend DIY victory and a project that demands specialized trade licensing protects your home equity, your safety, and your sanity.
Stabilizing Structural Enclosures, Windows, and Entry Access

The first line of defense in any neglected property is its exterior shell. Water infiltration and thermal drafts drive up utility expenses while quietly rotting interior framing. Restoring the envelope of your home should always take precedence over interior decorating. A weekend spent weatherproofing entry points produces immediate, tangible reductions in monthly heating and cooling costs while halting hidden moisture penetration behind exterior wall cladding.
Begin with a thorough tactile inspection of every window assembly. Older wooden sashes frequently suffer from cracked, crumbling glazing putty that allows moisture to enter the wood rails, leading to swelling and dry rot. You can easily revive these assemblies yourself. Use a stiff putty knife to scrape away brittle glazing compound, sand the bare pine down to sound wood, brush on a penetrating exterior oil primer, and press fresh linseed-oil-based glazing putty into the channel at a smooth 45-degree angle.
- Draft diagnostics: Hold a lit incense stick or tea candle along window sills, door jambs, and casing joints on a breezy day. Where the smoke trails horizontally, air is penetrating the building envelope.
- Weatherstripping renewal: Strip away flattened, rotted foam or bent bronze strips along exterior door frames. Install heavy-duty tubular silicone or kerf-in rubber seals along the jambs, and fasten an adjustable aluminum-and-rubber door sweep along the bottom threshold.
- Exterior caulking renewal: Slice away failed, cracked polyurethane caulking around window trim using an oscillating multi-tool. Pump a continuous bead of high-movement elastomeric sealant into gaps between exterior masonry, wood siding, and window framing to block wind-driven rain.
When dealing with shattered single-pane windows, careful DIYers can measure the interior sash rebate, score and snap replacement sheet glass to size, and secure the pane with glazing points. If your fixer-upper features cracked insulated glass units with clouded condensation trapped between double panes, the vacuum seal has failed. In these scenarios, or when dealing with oversized picture frames, tempered sliding panels, or custom structural transoms, calling a professional glass service ensures proper thermal performance, argon-gas retention, and structural safety without forcing you to purchase entirely new window frames.
The garage represents another major thermal and physical security vulnerability. Homeowners can safely tackle numerous maintenance items:
- Replace brittle, cracked bottom rubber weather seals along the garage door base to prevent rain runoff, winter drafts, and rodents from entering the workshop.
- Clean metal side tracks using citrus degreaser, verify vertical plumb with a 4-foot spirit level, and lubricate the roller bearings with a dedicated silicone or white lithium spray rather than dust-attracting oils.
- Replace worn nylon rollers to eliminate loud vibrations and lessen motor strain on the opener.
However, never attempt to adjust, repair, or unbolt overhead torsion springs mounted on the header above the door. These tightly wound steel coils store thousands of pounds of kinetic energy capable of inflicting catastrophic injury upon release. When an aging overhead system requires structural replacement, track reconfiguration, or counterbalance spring adjustment, scheduling a licensed garage door installation specialist protects your safety and ensures proper mechanical counterbalance.
Moisture Management, Crawl Space Sealing, and Environmental Health
Water is the natural enemy of residential architecture. An astonishing percentage of structural failures, subfloor sags, and respiratory hazards originate beneath the floorboards in unconditioned basements and damp crawl spaces. Establishing dry conditions below ground level prevents extensive structural repair bills later.
Once bulk exterior water is diverted, inspect the crawl space. An exposed dirt floor continuously breathes moisture vapor into the structural joists above. A dedicated homeowner can encapsulate a dirt floor over a weekend:
- Clear out rocks, wood construction scraps, and sharp debris that could puncture plastic membranes.
- Unroll thick 10-mil or 20-mil virgin polyethylene sheeting across the entire earth floor, overlapping seams by at least twelve inches.
- Seal all overlap seams and foundation piers using heavy-duty vapor-tape, and run the membrane six inches up the concrete foundation stem walls, anchoring it with masonry masonry screws and polyurethane adhesive.
- Insulate rim joists along the home’s outer perimeter by cutting two-inch extruded polystyrene (XPS) rigid foam boards to size, friction-fitting them into joist bays, and sealing perimeter gaps with expanding spray foam.
Neglected, humid environments frequently breed dangerous fungal colonies behind drywall, inside HVAC ductwork, and beneath vinyl flooring. Small patches of surface mildew under two square feet on non-porous bathroom drywall can be remediated using botanical thymol or quaternary ammonium antimicrobial solutions. Never spray common chlorine bleach on porous wood joists; bleach consists mostly of water, which evaporates more slowly than its active chemicals, feeding fungal root structures deep inside timber. When pervasive, toxic black fungal blooms contaminate large expanses of insulation, subflooring, or structural framing, hiring a certified mold removal company is essential to isolate spores under negative air pressure and safely eradicate the contamination.
Damp wood framing also acts as an open invitation to wood-destroying insects that quietly compromise load-bearing studs and subfloors. Protect your property by taking proactive containment steps:
- Walk the exterior perimeter and remove any soil-to-wood contact points, maintaining at least six inches of clear concrete foundation between garden beds and exterior siding.
- Seal perimeter pipe entry points with heavy-gauge stainless steel mesh and expanding foam to block rodent entry routes.
- Inspect structural sills for telltale mud tubes constructed by subterranean termites, along with fine wood shavings left behind by carpenter ants.
If your physical audit uncovers extensive structural pest damage or active termite galleries inside joists, consumer bug sprays will not stop the colony. Partnering with a licensed local pest control service allows you to deploy targeted non-repellent liquid soil barriers or specialized sub-slab termiticide treatments that eliminate the entire queen colony before structural integrity is lost.
Practical Bathroom Refresh Strategies and Wet Area Overhauls
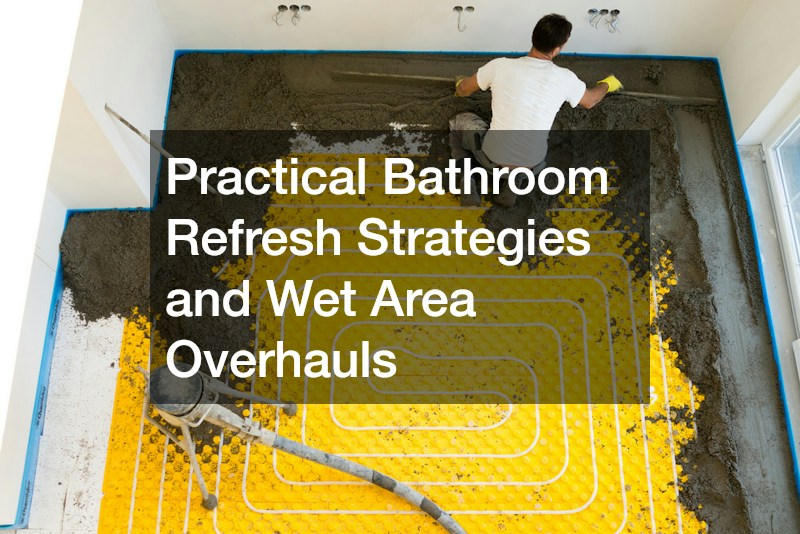
Bathrooms in older fixer-uppers are often functionally sound yet aesthetically dated, sporting pastel fixtures, discolored grout lines, and peeling caulking. Ripping out a bathroom down to the wall studs routinely costs upwards of fifteen thousand dollars. Fortunately, high-impact surface refinishing allows homeowners to achieve a clean, modern aesthetic for a small fraction of a full gut-renovation.
Begin by attacking the grime that makes an older bathroom feel unsanitary:
- Grout rejuvenation: Scrub stained floor and wall grout lines using an oxygen bleach powder paste and a stiff nylon brush. Once dry, coat the porous grout with an acrylic-based grout colorant and sealant pen. This seals the porous surface against future grime while transforming discolored lines into clean white or modern charcoal gray.
- Caulk extraction and resealing: Use a razor scraper and silicone-dissolving gel to completely strip old, mildewed caulk from the tub-to-tile joint. Clean the seam with isopropyl alcohol, fill the bathtub with water to weigh it down, and run a smooth bead of 100% silicone mildew-resistant caulk along the transition. The water weight prevents the fresh joint from tearing open the first time someone steps into the bath.
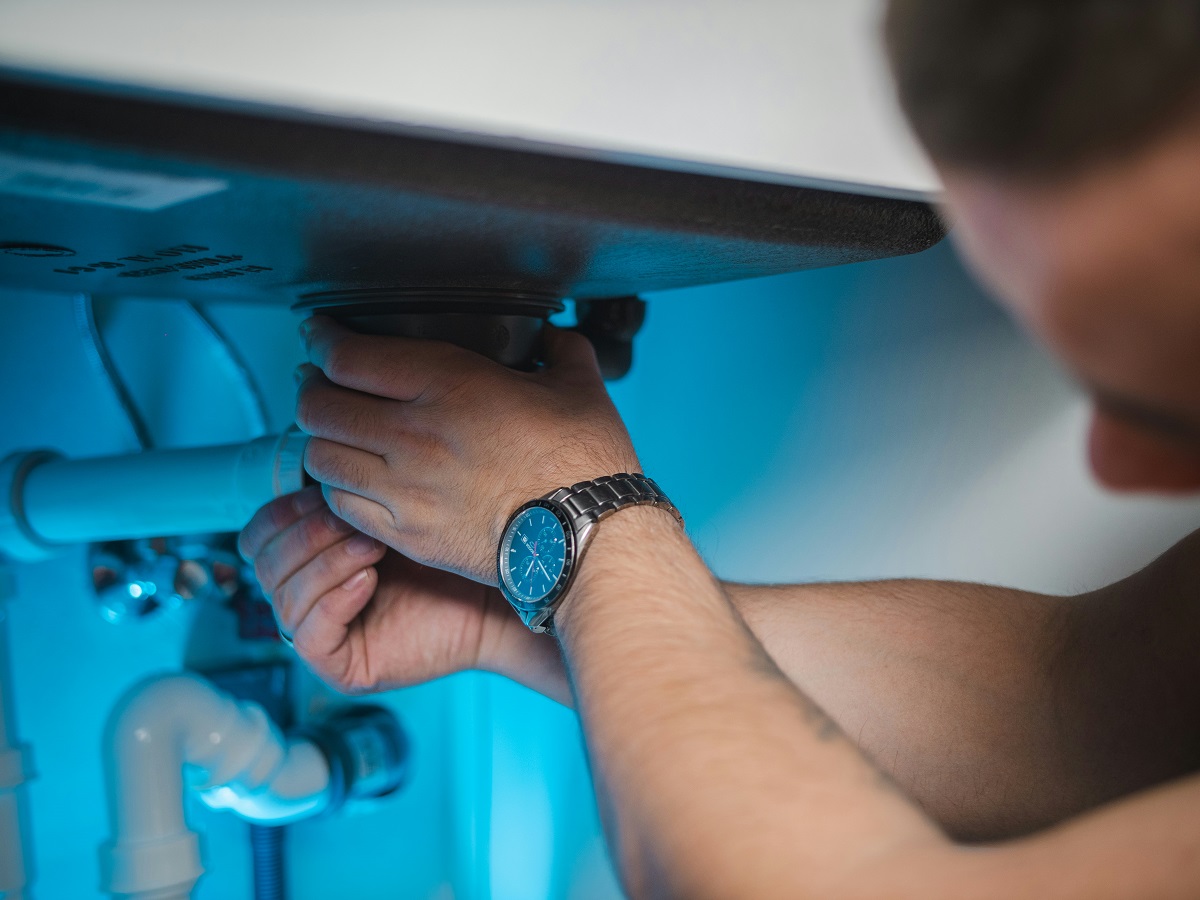
Light fixtures and plumbing hardware deliver significant visual impact for minimal investment. Shut off the water supply stop valves beneath the sink, loosen the compression nuts with an adjustable wrench, and replace an old pitted chrome faucet with a sleek single-handle fixture. Upgrade the overhead vanity light by switching off the breaker at the service panel, verifying zero voltage with a non-contact electrical tester, and mounting a high-CRI LED bar fixture to instantly brighten the space.
When a shower pan leaks or tile walls begin sounding hollow when tapped, cosmetic updates are no longer sufficient. Tiling a wet area requires flawless sub-surface waterproofing using cement backer boards, alkali-resistant fiberglass mesh tape, and liquid waterproof membranes. If a complex walk-in curbless shower, linear trench drain, or intricate marble mosaic installation exceeds your comfort level, bringing in skilled bathroom tile contractors guarantees that wet walls shed water safely into the drain rather than rotting out your floor joists.
Furthermore, if your renovation vision involves moving the toilet waste stack, relocating copper supply lines within structural load-bearing walls, or expanding the bathroom’s footprint by removing a partition wall, working alongside established local bathroom contractors ensures all plumbing venting, electrical GFCI circuits, and structural alterations comply with local municipal building codes.
Restoring Driveways, Drainage Gradients, and Exterior Flatwork
A cracked, weed-infested driveway and uneven concrete walkways drag down property curb appeal while introducing severe trip hazards and drainage problems. Water that pools against driveway edges quickly seeps beneath the sub-base, causing soil erosion that leads to sinking concrete slabs and crumbling asphalt edges. Reclaiming your exterior flatwork is an accessible DIY task that instantly modernizes your home’s entry approach.
Begin with deep surface reconditioning using a high-pressure washer:
- Select the right nozzle: Use a wide 25-degree or 40-degree fan tip to scour concrete, stone, and brick pavers. Avoid narrow zero-degree red tips, which concentrate pressure into a fine stream that etches permanent grooves into masonry surfaces.
- Treat oil and grease stains: Pour a concentrated microbial degreaser or poultice over motor oil stains on concrete pads, scrub with a wire brush, and let the enzymes digest the hydrocarbons before pressure washing.
- Eradicate weeds: Scrape weeds out of expansion joints using a sharp crack-weeding tool, blow the channels clean, and pack joints with polymeric locking sand to prevent weed seeds from taking root.
Concrete walkways that exhibit minor surface spalling or shallow chips can be renewed without tearing out the slab. Scrub the concrete clean, saturate the slab with clean water to prevent it from sucking moisture out of the patch, and trowel a thin layer of polymer-modified concrete resurfacer over the damaged sections. Pull a stiff-bristled broom lightly across the wet mix to create a professional, slip-resistant finish.
When an asphalt driveway has suffered severe sub-base collapse, leading to deep sunken depressions and extensive structural alligator cracking, surface sealants will no longer hold the surface together. In these situations, bringing in an experienced paving service to regrade the underlying gravel base, improve stormwater runoff, and lay fresh compacted hot-mix asphalt permanently restores vehicle access.
Similarly, if your property includes an abandoned, cracked outdoor pool structure that threatens yard stability, coordinating with an experienced swimming pool contractor ensures safe structural demolition, proper plumbing capping, and backfill compaction to prepare the ground for fresh lawn or hardscape installations.
Expanding Outdoor Living Areas and Structural Decking

Fixer-upper backyards are often overrun with weathered decking, neglected patios, and overgrown brush. Transforming a desolate backyard into a comfortable outdoor living space expands your usable square footage without the expense of an interior room addition. A solid, well-maintained outdoor deck provides an ideal platform for summer dining, entertaining, and relaxing.
Begin by assessing the structural safety of existing exterior woodwork:
- The water absorption test: Splash a few tablespoons of water onto weathered deck boards. If the water beads up, the sealant is intact. If the water absorbs immediately into the wood grain, the lumber is unsealed and vulnerable to rot, UV degradation, and splintering.
- The pick test: Press a flat-head screwdriver into the lower ends of support posts, rim joists, and stair stringers. If the steel tool sinks easily into soft, spongy wood, dry rot is present and structural timber must be replaced.
- Fastener inspection: Check under the deck for rusted, deteriorating nails or loose carriage bolts. Structural connections between the ledger board and the house frame must be secured with code-compliant structural wood screws or through-bolts, never standard smooth drywall screws or unrated nails.
If your deck’s ledger board is improperly flashed, support posts lack concrete footings below the local frost line, or the entire frame sways under foot traffic, you are dealing with a severe structural liability. When replacing a failing deck structure or designing an elevated multi-tiered outdoor platform, hiring reputable decking contractors guarantees that joist spans, cantilever cantilevers, railing loads, and post footings strictly adhere to current safety codes.
Homeowners seeking luxurious backyard upgrades often dream of building private water retreats. While building an inexpensive gravel fire pit, laying flagstone stepping paths, or setting up a simple stock-tank plunge pool are great weekend DIY endeavors, ground-up aquatic installations require specialized heavy civil engineering.
Excavating deep soil, installing complex hydraulic filtration networks, shooting structural gunite concrete shells, and wiring multi-phase electrical pumps requires the equipment and experience of certified custom pool builders. Bringing in qualified pool trades guarantees that water containment, automated chemical sanitation, and perimeter safety barriers operate smoothly for years to come.
Kitchen Transformations and Interior Cabinet Renewal

The kitchen is widely considered the heart of the home, but it is also the most expensive room to remodel. Full kitchen tear-outs routinely paralyze family life and drain savings accounts. By taking a strategic approach centered on salvaging solid cabinet boxes and updating dated surfaces, you can achieve a designer-grade transformation on a shoestring budget.
Cabinets represent the largest visual surface area in any kitchen. If the underlying plywood or solid-wood cabinet boxes are structurally plumb and sturdy, there is no functional reason to replace them. Painting your cabinets delivers dramatic aesthetic impact:
- Orderly deconstruction: Remove all cabinet doors, drawer fronts, and hardware hinges. Number each door and matching cabinet opening with painter’s tape to ensure parts return to their exact locations during reassembly.
- Intensive degreasing: Kitchen cabinets accumulate a stubborn film of cooking grease, skin oils, and cleaning residue. Scrub every inch thoroughly using a solution of warm water and trisodium phosphate (TSP), followed by a clean water rinse. Paint applied over residual grease will peel away within weeks.
- Scuff sanding and priming: Lightly sand all surfaces with 180-grit sandpaper to scuff the factory clear coat. Wipe away sanding dust with a microfiber tack cloth, then apply a stain-blocking bonding primer to prevent wood tannins from bleeding through the finish.
- Topcoat application: Apply two thin, smooth coats of specialized urethane-alkyd enamel using a high-density foam roller and a fine angled brush. This hybrid enamel levels out smoothly, eliminating brush marks while curing into a rock-hard, washable finish that resists scuffs, chips, and moisture.
Enhance your refreshed cabinets with an affordable DIY backsplash:
- Surface preparation: Sand the drywall behind countertops to remove grease and gloss, then wipe it clean. Draw a crisp, plumb centerline down the middle of the wall using a long spirit level to guide tile alignment.
- Peel-and-stick composite tile: For an ultra-budget, tool-free installation, modern aluminum-composite or thick vinyl peel-and-stick backsplash tiles replicate ceramic subway tile, hexagonal stone, or geometric mosaics without the mess of mortar and wet saws.
- Ceramic subway tile: If you prefer traditional ceramic tile, install classic three-by-six-inch glazed subway tiles using pre-mixed mastic adhesive. Set an inexpensive wood ledger board along the wall, spread the adhesive with a notched trowel, place your tiles using 1/8-inch plastic cross spacers, and cut end pieces using a manual snap cutter. Once cured, pack the joints with pre-mixed grout and wipe clean with a damp sponge.
By prioritizing projects that protect the building envelope, mastering basic surface refinishing, and understanding precisely when complex structural, electrical, or plumbing tasks warrant professional trade assistance, you preserve your hard-earned capital. Every loose sash you tighten, every dry-rotted board you replace, and every dated cabinet you transform builds invaluable sweat equity. Approach the journey one room at a time, celebrate small victories, and take pride in watching your fixer-upper evolve into a beautiful home.